In 2011 I was granted 11 weeks of personal time from my full time job at GE Aviation, which I used to pursue a passion, building an art project to show at my first Burning Man. This project was my way of re-energizing me, giving me a new challenge and expanding my knowledge. Having grown up on Star Trek and Heinlein, I decided that I wanted to build my very own warp core, a 9 foot tall structure which focused on dazzling the user with visual displays and tunes rather than traveling at superluminal speeds. One can only do so much in one summer.
Technical Specs:
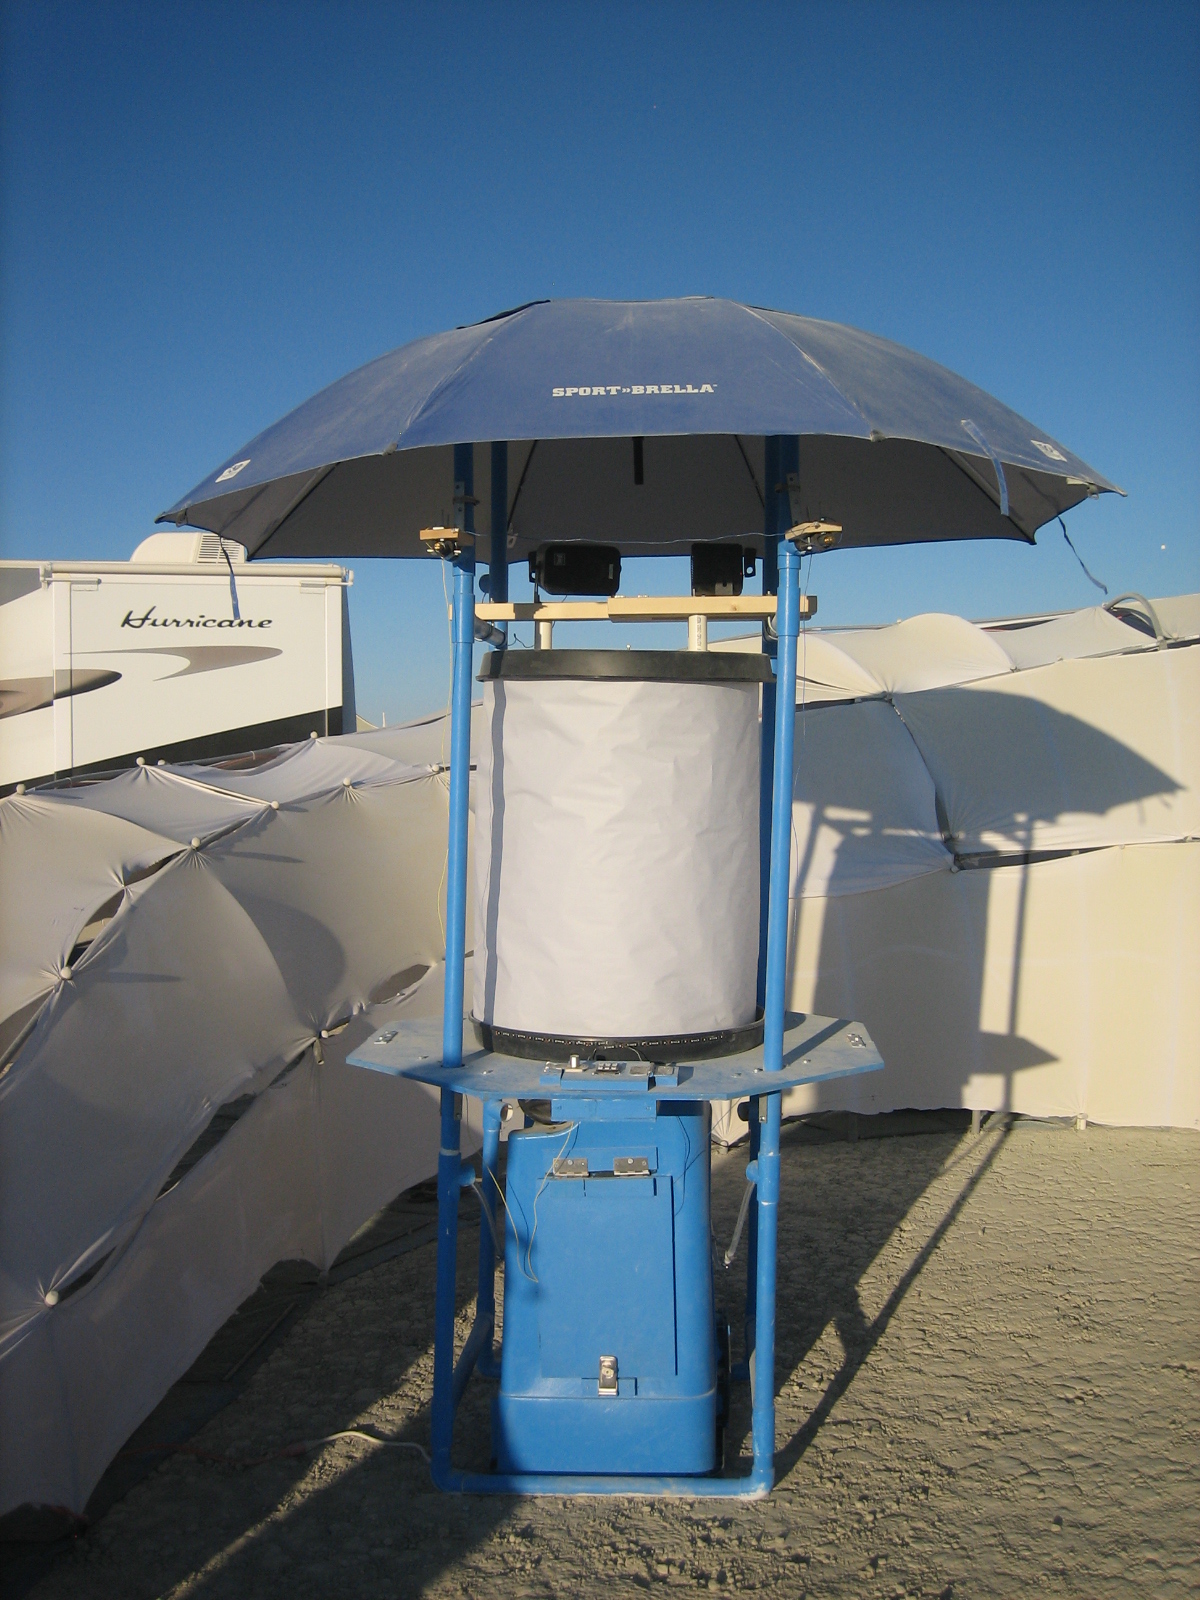
The ‘Warp Core’ was a 9 feet tall, mushroom shaped structure, with rain protection and speakers on the top, visual display and user interaction at eye/hand height, electrical guts in the base.
• At night the structure looped through playing songs and displayed visualizations synced to the songs. The visualization looks a little like the Star Trek Voyager warp core in ‘Engineering.’
• Songs + visualizations could be changed by the user
• Red alert button triggered ‘red alert’ sound effect, a red LED circuit, and sprayed red-lit water out on users
• Question mark button triggered text to speech, where the user was told their current time and location, starting with the milky way galaxy and ending with Black Rock City, Nevada
 Structural Modules:
1 – Top, Umbrella
Umbrella, Sound System, Water Spray Nozzles, Mirror support
2 – Middle, Warp Core
Optic Mirror, Projector + Frame, Projection Canvas, User Number Pad, Arduino
3 – Bottom, Table + Innards
Table, Garbage Can, Laptop, Water Reservoir, Main Power Board, Fans, Pump, Amplifier
Requirements:
1. Structure must fit within my allotted 4’ x 4’ x 5’ purchased space in our truck
2. Structure must be able to be assembled and disassembled by a single person in 4 hrs.
3. Structure must survive ~ 5 days of Black Rock City Conditions (wet/dry, basic, sunny, hot cold)
4. Minimize the access users have to expensive innards
5. Minimize cost + weight
Design Comments:
Materials + Cost:
Piece was constructed out of inexpensive available materials: PVC, wood, tubing, patio umbrella, trash can, bolts + nuts. High value items were procured online at competitive prices: audio amplifier, netbook laptop, projector, water pump.
Programming:
This was my first time working with python, an arduino, and text to speech, all of which I enjoyed learning and using. On the computer side, a python script was controlling the audio and visuals. It was listening for input from the number pad, routed through the arduino, back to the computer via USB and heard in python
• Song changes were triggered by calling a command line interface to winamp
• Visualizations were a winamp plugin, milkdrop, and changes were triggered by an autohotkey macro script to move the mouse (a hack)
• Red alert wav file was stitched together in windows audio editor, and called from python
Circuitry:
I enjoyed using mosfets for the first time. And when I didn’t have enough wire, or circuit boards, I cannibalized an old 1990s era desktop that my parents had lying around.
Structure:
PVC pipes and a garbage can formed the skeleton of the structure, onto which the table and umbrella were attached. This minimized weight and reduced the number of sub assemblies. The entire structure was anchored into the ground by bent rebar in case of heavy winds.
A wood table was constructed which allowed packaging and protection of water valves and the arduino circuit board, which were in separate compartments.
Water Pump Circuit: 3/8” PVC rubber tubing was chosen to minimize head loss and pump an acceptable amount of water through the nozzles. Globe valves were used to adjust system flow, and the flow up to each nozzle. Check valves were used to prevent water from draining everywhere when the system was adjusted on the fly. Quick release fittings were used for easy assy/disassy. I chose an Aqua King 1901 12V DC marine water pump, operating between 0-30 psig and 3.7 to 1.5 litres/minute. It met my flow/pressure goals, at a competitive price.
Sub-assemblies such as the projector frame, main circuit board, number pad, mirror-frame and projection surface were all modular and proven out in independent and full assembly testing. See ‘Rough Demos’ link below.
Final Assembly and Function On-Site:
Assembly went well on site. In the future I will refrain from using so many bolts, perhaps switching to more quick release types of connections, or fewer bolts.
The build took ~ 1.5 days. Large amount of build time was needed because I had to paint the structure, and solder the red LED circuit, and finish the red alert software. The project functioned for 2 nights, and was used a number of times when I was there. I set up data recording on the second night which showed it was used multiple times per hour. Overall the project met all requirements and was a success.